Split, Move, and Auto-Hide Windows in QC
The QC window and layout of tabs and work areas is flexible and can be changed to meet your needs. You can:
-
Split tabbed windows into multiple windows.
-
Move windows around the desktop or to a secondary monitor.
-
Auto-hide windows.
Split Tabbed Windows
When you configure your QC layout, you can split tabbed windows so that you can see the tabs side-by-side.
- Click and drag a tab until it is a floating window.
-
Move the cursor over the location where you want the tab dropped. In this example, you want to view the Metadata and Extracted OCR tabs side-by-side in the same window, so you move the cursor to the right side of the directional icon.
The tabbed window changes to highlight the area next to the Extracted OCR Text tab.
-
Release the mouse button. The tabs now show side-by-side in a split window.

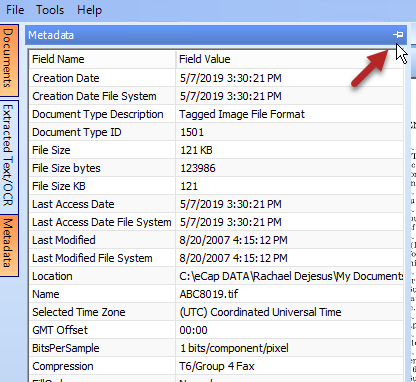
Auto-Hide Tabs and Windows
-
At the top of each window or tab is an Auto-Hide icon
 . Click the Auto-Hide icon.
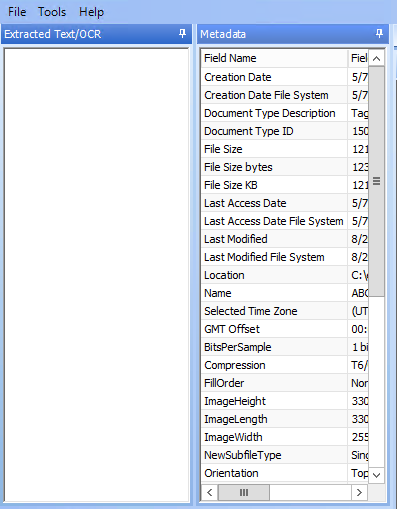
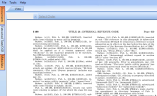
The window collapses to the side of the QC window. In the example below, you click the Auto-Hide icon for the Metadata and Extracted OCR Text window. The tabs move to the left side of the QC window and the Document List window expands to fill the space where the Metadata and Extracted OCR Text window was previously located.
You can then click the Auto-Hide pin for the Document List window. The View tab expands to fill the QC window.
-
Hover over the hidden tab to view the window. The window for the tab slides into view.

-
Click the Lock pin icon
 to lock the tab in place again.
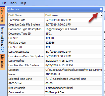
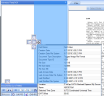
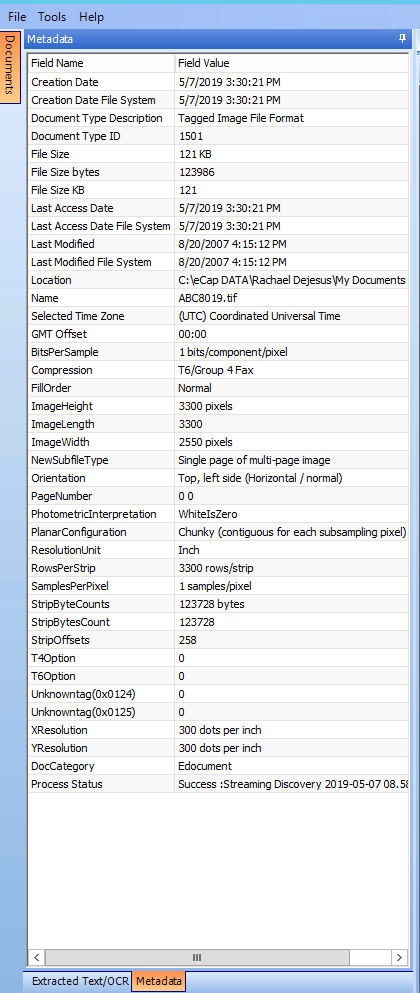
The Pin icon changes back to the auto-hide
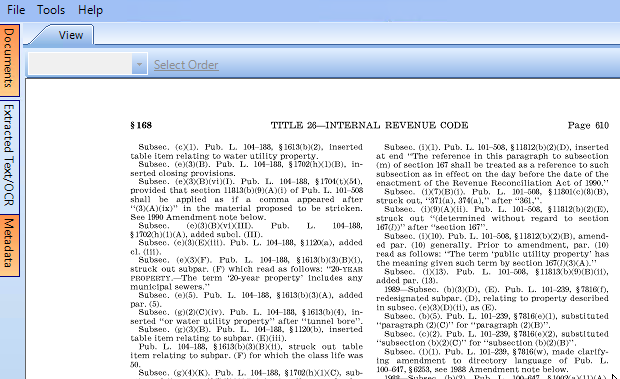
icon and the window is locked in place again. In the previous example, you clicked the Auto-Hide icon for both the Metadata and Extracted OCR Text window and the Document List window. - When you click the Lock pin icon for the Metadata and Extracted OCR Text window, the Document list window remains hidden. This results in the Metadata and Extracted Text window filling the entire left pane of the QC window.
-
The tab for the Document List window is visible in the left side of the QC window.


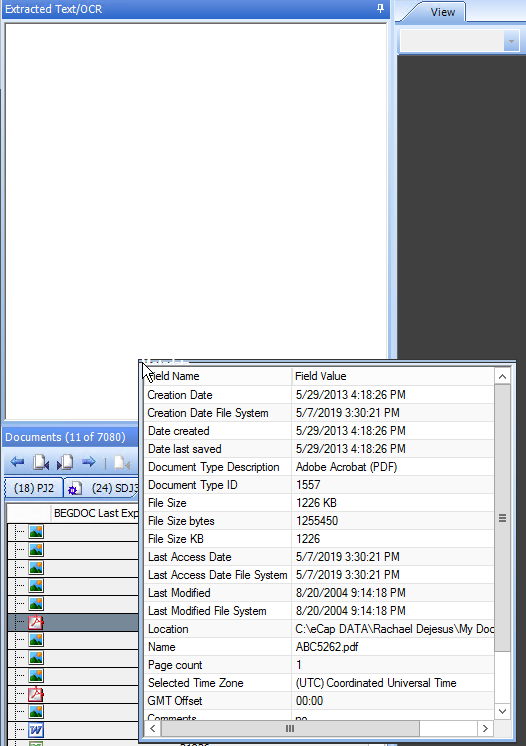
Move Tabs and Windows
To modify the layout of the tabs and windows in the QC environment:
-
Point, click, and drag the title bar or tab of any window to reposition it.

-
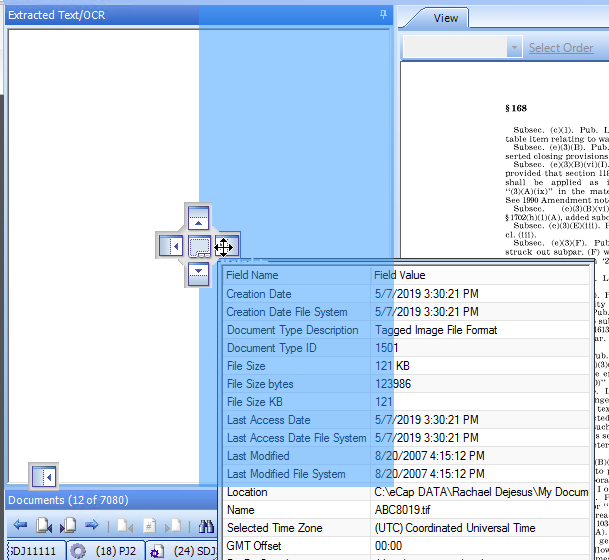
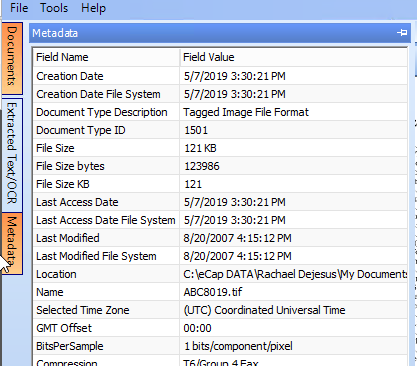
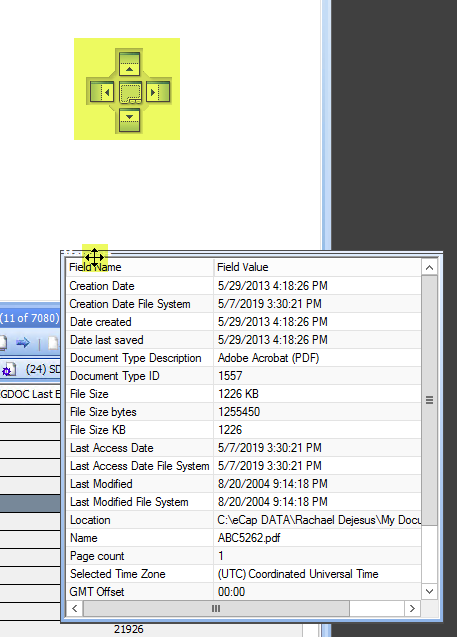
Drag the tab or window to the location where you want to place it. In the example below, the Metadata tab was clicked and dragged until it became a free-standing window.

-
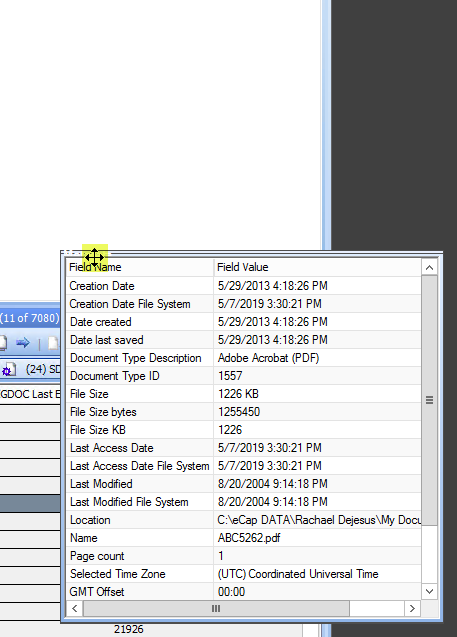
To move the tab or window to a different location, place the mouse in the top corner of the tab/window. The cursor changes to a cross with arrows on all sides
 . This is an indication that the selected tab or window can be moved in multiple directions.
A directional icon appears as you drag the window showing you the areas where you can dock the window.

-
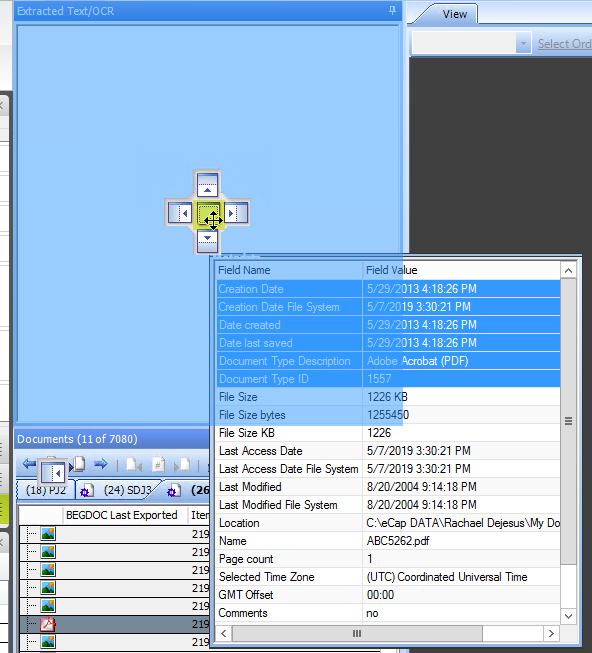
Drag the window over the icon area where you want to dock it. In this case, the tab was dragged to the center of the positional icon. The location where the window would dock changed to a blue color.

-
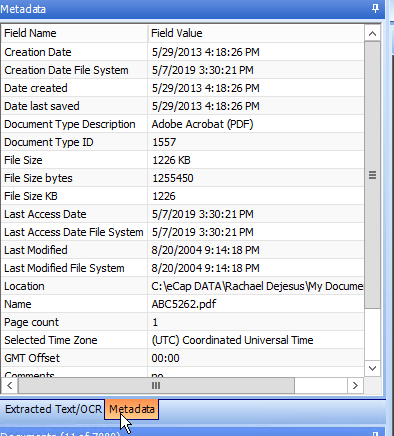
Release the mouse button to dock the window. The window/tab appears in the location you dropped it. In this example, the metadata tab was moved back in to its original position.


Related Topics